
This post (probably) contains affiliate links, including Amazon Associates links, and I may receive a small commission if you make a purchase after clicking through one. This is at no extra cost to you and allows the site to keep running! Thanks for understanding.
I had just learnt to Scuba dive, so I wanted to see what else I could do in the water. So I decided to try a freediving course while I was in the Philippines. I’ll take you through everything you need to know about learning to freedive; freedive safety, freedive certification, freediving techniques and more.
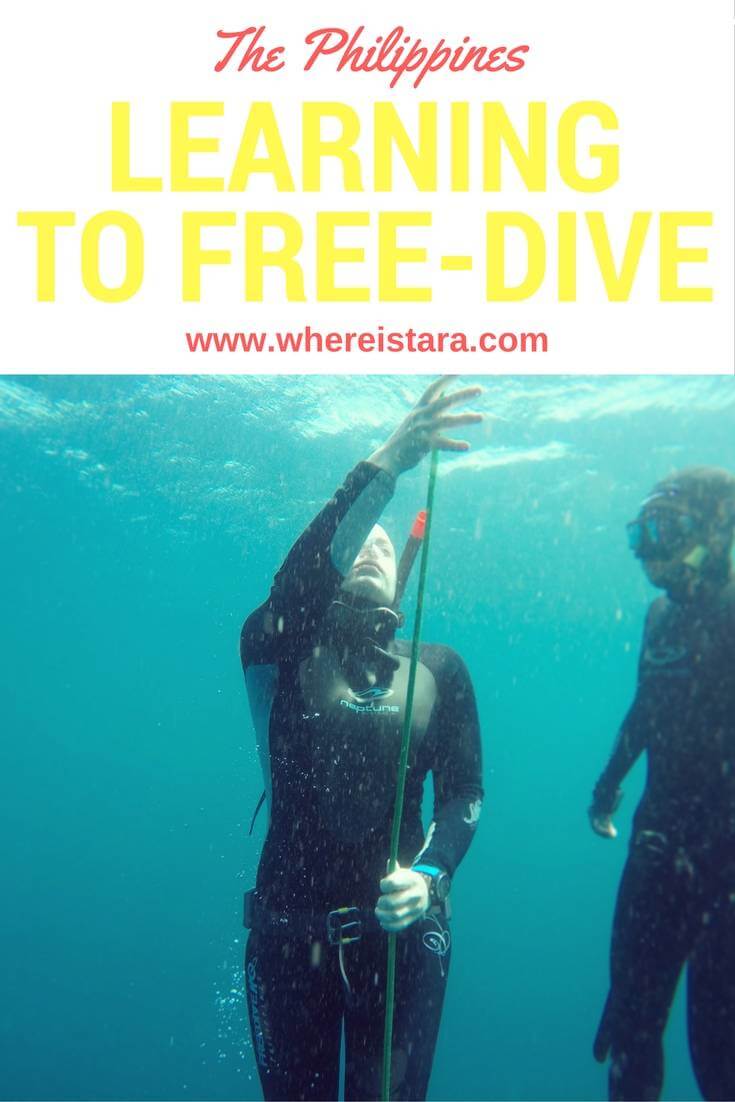
LEARNING TO FREEDIVE
Everything You Need to Now About Your First Freediving Course
What is Freediving?

I assume most of you know what freediving is if you’ve made the decision to learn to freedive, but let’s go through it anyway so that there are no surprises. Basically it’s extreme snorkelling. It’s all based around holding your breath for long periods, under water, and attempting to get to certain depths whilst doing this.
Despite how it may sound, learning to freedive is relaxing. The breathing techniques involved are completely calming. It’s like yoga, meditation and snorkelling all rolled into one. It’s very freeing to be deep under the water without any big tank strapped to your back, you can move a lot more naturally.
Is Freediving Safe?
This was something I was unsure of before I tried freediving. Did the instructor bring safety equipment with them? What happens in the event of an emergency? My mind was soon put at ease.
I had a highly qualified instructor with me, watching me every time I went underwater, ready to rescue me if needed. The instructor also swam down with me at times. I also had my own knowledge of my body and what it was capable of. I would never push myself beyond my limits.
Then there was the fact that there were 2 large flotation devices for us to hold onto between dives and a boat near by to pick us up if we had difficulty.
Honestly, it is as safe as any other water based activity. As I said in my diving blog post– trust your instructor. They are a qualified professional. As long as you do what they say, you’re as safe as can be.
What to Expect From Your Level 1 Freediving Training

I learned to freedive in the Philippines at Freedive HQ in Cebu, so I’ll be talking about my experience there. I was initially a bit nervous but my nerves were instantly washed away when I arrived at Freedive HQ to meet all the wonderful staff. It felt like a little free diving family.
When I met my instructor, Sura, she was so vibrantly happy that I couldn’t help but look forward to getting started. Sura can dive up to 53m on a single breath and can hold her breath for over 5 minutes. Pretty impressive. I felt I was in good hands!
Day 1 – Freedive HQ – Learning to breath up

The first day mainly focuses on freediving techniques through book learning and breathing practice. Sura explained how to “breath up”, which is basically a way of relaxing yourself before you attempt to hold your breath for any period of time.
When we first did this I could only hold my breath for 1minute 30seconds. But it’s oddly addictive trying to hold your breath, so I quickly got better with practise, getting up to 3 minutes. I had to read a few chapters from my workbook and answer some questions.
I was also given “homework”, to work on my breathing and equalising. You’ll learn about the different equalising techniques and find which one works best for you.
Day 2 – Freedive HQ – Pool Training
The first practical part of learning to freedive takes place in the pool. Before the pool training we had to sort out my equipment. I needed a weight belt, wetsuit, socks and fins, a special free diving mask (different to Scuba diving mask) and a snorkel.

Freedivers wear their weight belt a lot lower than scuba divers. Basically on the hips, halfway down your ass, is the perfect place for your weight belt. This is, in fact, a lot more flattering than the bellybutton position of the scuba weight belt.
Pool training started off with a static breath hold to demonstrate that naturally your body finds it easier to hold a breath when the face is submerged in water. I did 2mins and 30seconds this time.
We then swam a length of the pool, up and back underwater with a rope lying along the bottom. This was to practise the correct type of kick and to make sure that I always focused on the rope. This would be important in the ocean.
I also had to do a bunch of lengths of the pool to demonstrate that I was fit enough and wouldn’t just get tired and drown when we were out in the sea.
Day 3 – Freedive HQ – Into the Sea

The second day of training was ocean time! After some stretching/ gentle yoga we got ourselves ready and headed to the boat.
My first day in the sea, unfortunately, happened to be a day where all the jellyfish had come out to play. But hey, what can you do. I’m SO used to it by now, I normally end up covered in lumps and bumps from the stings.
Once we were off the boat and in the ocean there were 2 flotation devices for us to hang onto. While one person was diving with the instructor the rest relaxed and concentrated on breathing.
I had a problem with my ears and found it hard to equalise, meaning I needed to descend feet first without fins. This meant I found it a bit harder to float calmly on top of the water.

Do NOT worry if you’re not instantly good at freediving. My first session in the sea I was struggling with my snorkel, swallowing far too much sea water and generally feeling like I might die if the boat didn’t come along soon. But it gets better and you get more comfortable.
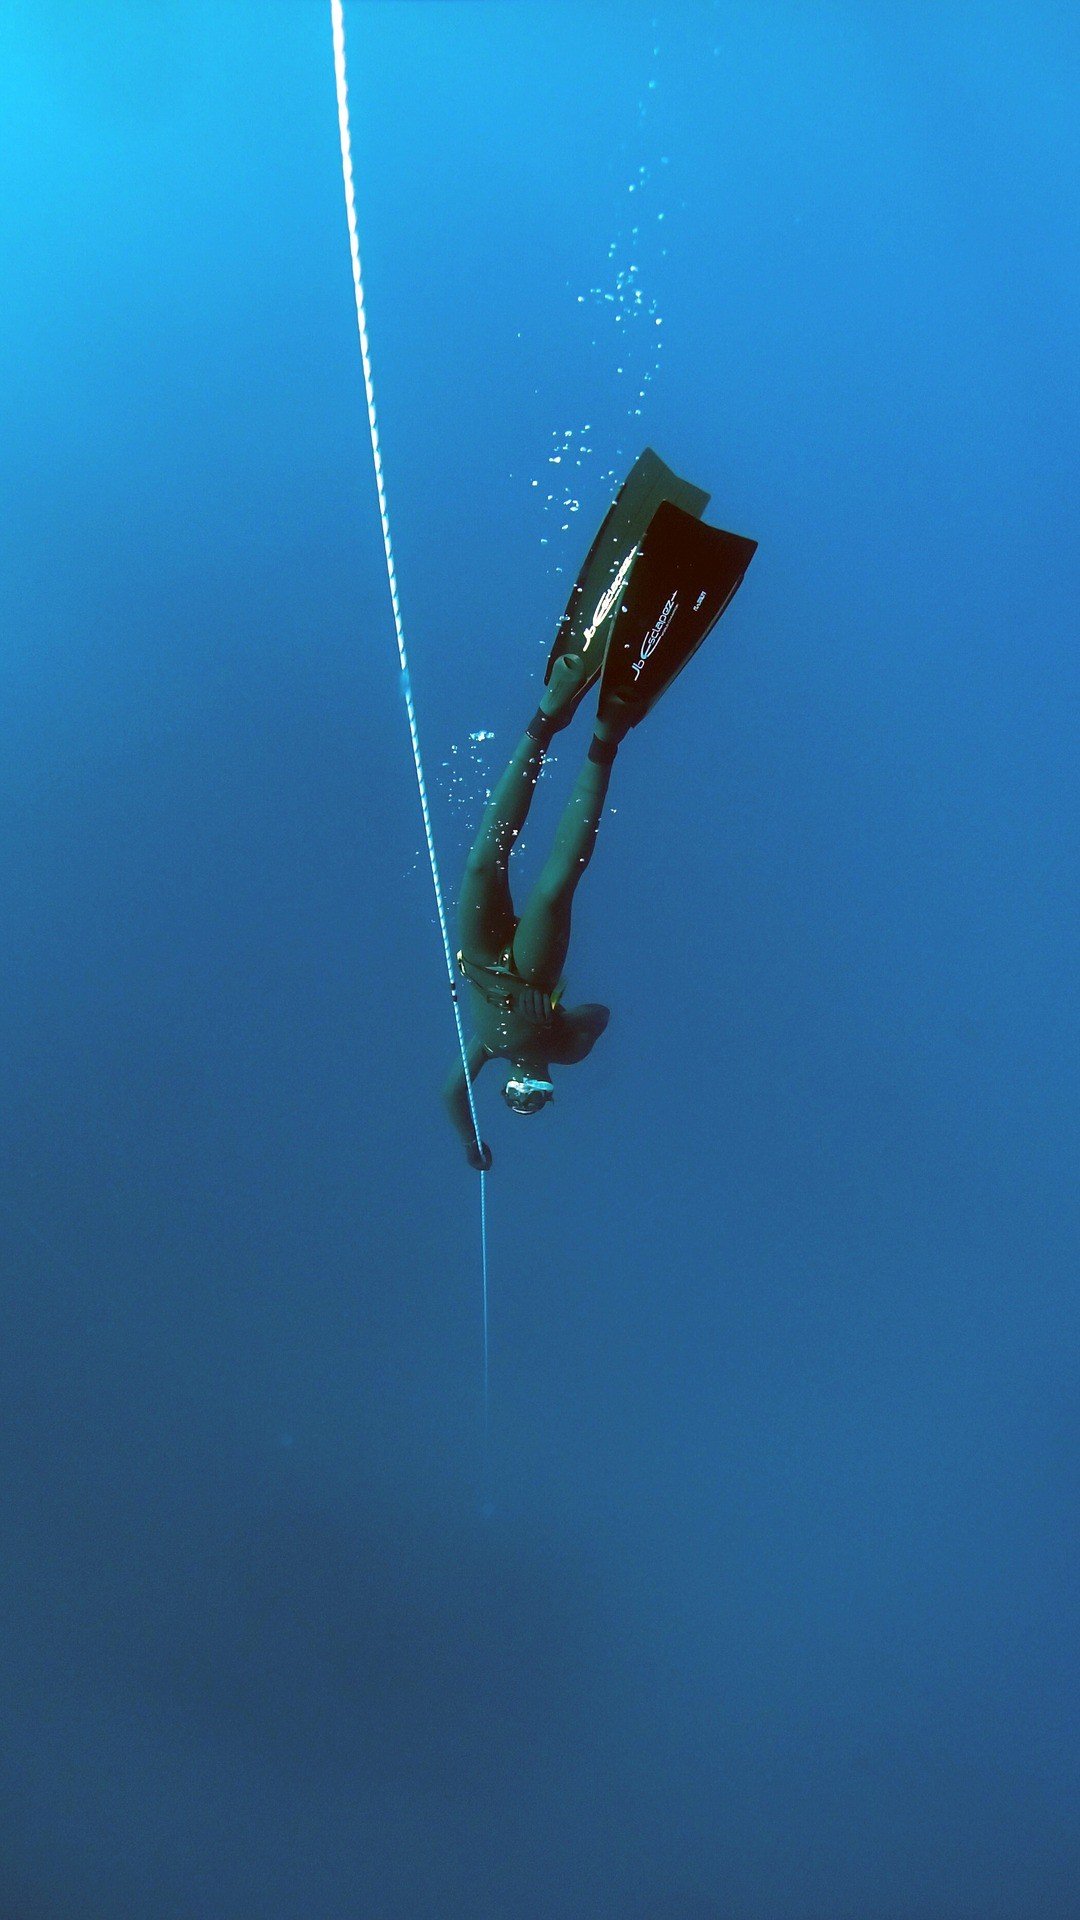
When it’s your time to dive you start by “breathing up”. Once you’re ready to go under, head first, you follow the rope down to a certain depth (whatever you’re comfortable with). Your instructor accompanies you to make sure you’re OK.
Once you get to the bottom (normally there’s a metal plate to hang on to) you can hang around if you want, if you’re not feeling out of breath yet, or you can go straight back up. Make sure to always look at the rope. TRUST THE ROPE. Once you break the surface you do your “recovery breaths”.
Then that’s it and the whole thing starts again. I find the returning to the surface part most calming. Mainly because you sort of glide up through the water with minimal effort, and you can see the sun beaming down through the water. Also, you don’t have to worry about holding your breath for much longer. You’re nearly there, you can hold on for the few seconds it takes to get to the surface.
Freediving Techniques You Must Learn to Pass Your Level 1 Freediving Certification

For your level one qualification you don’t have to do any set static breath hold. So even if the breath hold part is what’s worrying you, forget it . What’s important for level 1 is depth and skills.
You have to be able to go to 10m, at least. This is much easier than it sounds! You also have to be able to perform 3 skills at 10m. Again, nothing to worry about.
First skill – returning to the surface only using your arms – you can’t hold the rope or kick with your fins.
Second skill – taking your mask off at 10m and swimming to the surface with no mask (this was my favourite). It is, surprisingly, not painful to open your eyes under the sea.
Third skill – you have to rescue a fellow diver from 10m. This is probably the hardest one, but what I really mean is that it is slightly less easy than the others.
The skills are not the hard part of learning to freedive. The hard part of free diving is ignoring your instinct to breathe OR sorting out the equalisation of your ears if you’re like me.
Did I Enjoy Learning to Freedive?

In the end, I loved freediving. My breath hold is now 3minutes and 10seconds and my most recent depth was 14.4m. I still have problems with my ears but thanks to my wonderful instructor I have learnt how to overcome them, or at least manage them. There is nothing like being under the water.
When learning to freedive it is all about being calm and relaxed and taking things slow. I highly recommend that everyone tries a freediving course.
Anyone can try this. Trust me, it is amazing. I am so proud that I have gotten my level 1 certification.
Have you tried freediving?
What did you think?
Let me know!
Recommended Reading
- Open Water Diving Course – Thailand
- Advanced Open Water Diving Course – Similan Islands
- Filipino Food

This is now on my to do list! I’m like you, I hate things the first time, so I’ll have to tell myself to stick at it! Well done though on passing 🙂 Looks amazing.
I really want to learn freediving and it’s one of the things I’m gonna try to do this year 🙂
Woww!! I always wanted to try free dive! Thought about learn it in Bali, but some of my friends said they were not successful from the test. Some said bcs of the instructors. I think it’s important to choose the school, its about safety and the teacher.
I think Philippines would be great start if the instructors indeed were great like you wrote!
Do you mind giving me any recommendation of the free dive school there?
Thank you! 🙂
Hi Tara!
I wanted to ask where did you take your class? I just finished my intro to free dive class and thought it would be great to take a follow-up class. Can you share some details please?
Thank you!
Monica
Hi Monica! I went with FreediveHQ (http://freedivinghq.com/) they were great 🙂 Have a look at their site. xx